Introduction
Are you looking for ways to boost the performance of your MacBook Air A1495? One of the most effective ways to do this is by upgrading your RAM. RAM, or Random Access Memory, plays a crucial role in the overall performance of your computer. Replacing the RAM on your MacBook Air can help improve its speed and efficiency. This guide will walk you through the entire process, from understanding the benefits of a RAM upgrade to performing the replacement and ensuring everything works seamlessly.

Why Upgrade Your RAM?
Upgrading the RAM in your MacBook Air A1495 can yield several significant benefits. One of the primary reasons is improved performance. With more RAM, your MacBook Air can handle more tasks simultaneously without slowing down. This means faster processing times, smoother multitasking, and quicker application launches.
Another advantage is the ability to run more demanding applications. If you use software that requires a lot of memory, such as video editing tools or graphic design programs, having additional RAM can make a significant difference. It ensures that these applications run more smoothly, reducing lag and enhancing overall efficiency.
Furthermore, upgrading your RAM can extend the lifespan of your MacBook Air. As software becomes more resource-intensive over time, having more RAM ensures that your device can keep up with these demands. This means you won’t need to replace your MacBook Air as soon, saving you money in the long run.
Preparing for RAM Replacement
Before you start the RAM replacement process, it is essential to prepare adequately. Begin by backing up your important data. Although changing the RAM should not affect your data, it is always better to be safe than sorry. Use Time Machine or a cloud storage service to back up your files.
Next, ensure that your MacBook Air is powered off and disconnected from any power source. This is crucial to avoid any potential electrical hazards during the replacement process. Additionally, work in a clean and well-lit area to make the process easier.
Finally, make sure you have the proper documentation handy. Refer to the user manual of your MacBook Air A1495 to understand the specifics of your particular model. This can provide valuable insights that might not be covered in general guides.
Tools and Materials Needed
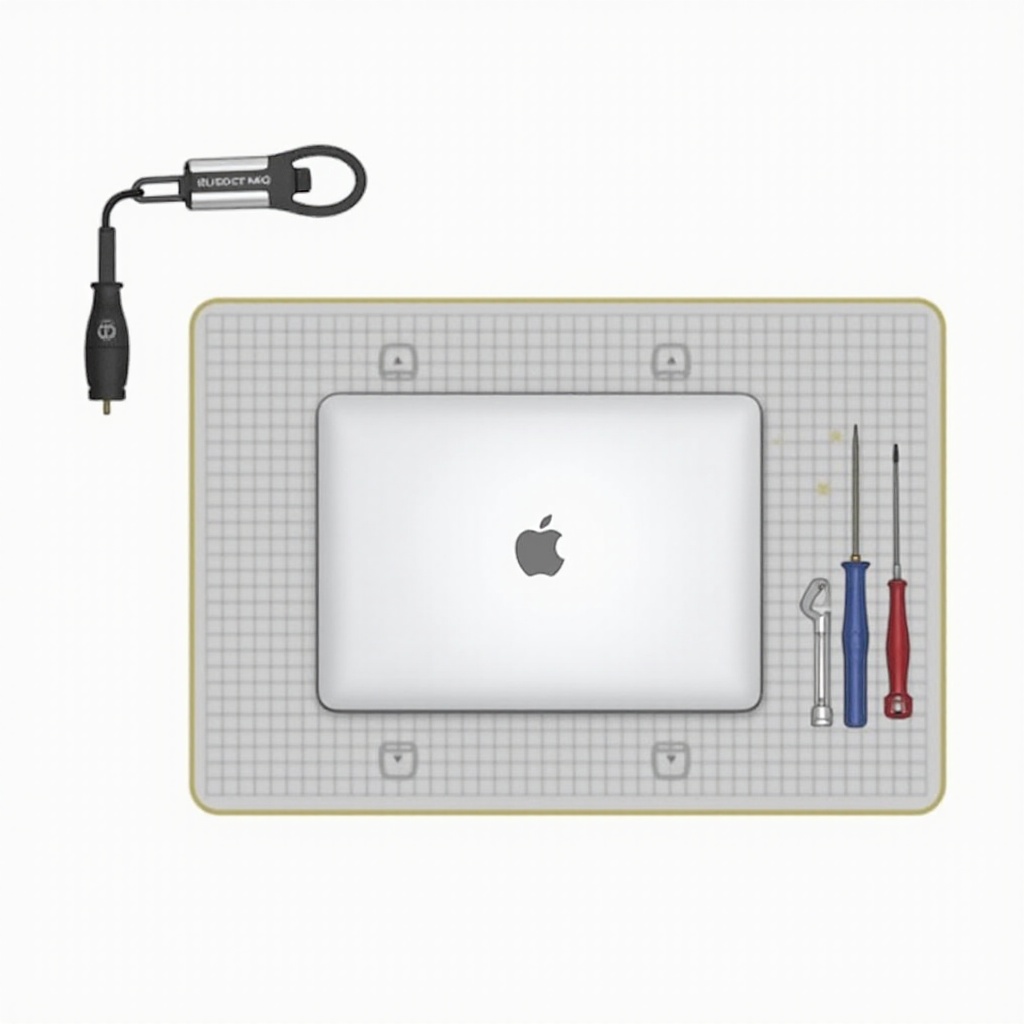
For a successful RAM replacement, you will need the following tools and materials:
– A Pentalobe screwdriver
– A Phillips screwdriver
– An anti-static wrist strap
– The new RAM module compatible with MacBook Air A1495
– A clean, flat workspace
Gather these items before you start the replacement process. Having everything on hand will make the procedure smoother and more efficient.
Step-by-Step Guide to Replacing RAM
Replacing the RAM in your MacBook Air A1495 may seem daunting, but by following these steps, you can achieve a successful upgrade.
Removing the Bottom Case
- Place your MacBook Air upside down on a clean, flat surface.
- Using the Pentalobe screwdriver, remove the screws securing the bottom case. Keep the screws in a safe place as they can be easily lost.
- Carefully lift the bottom case and set it aside.
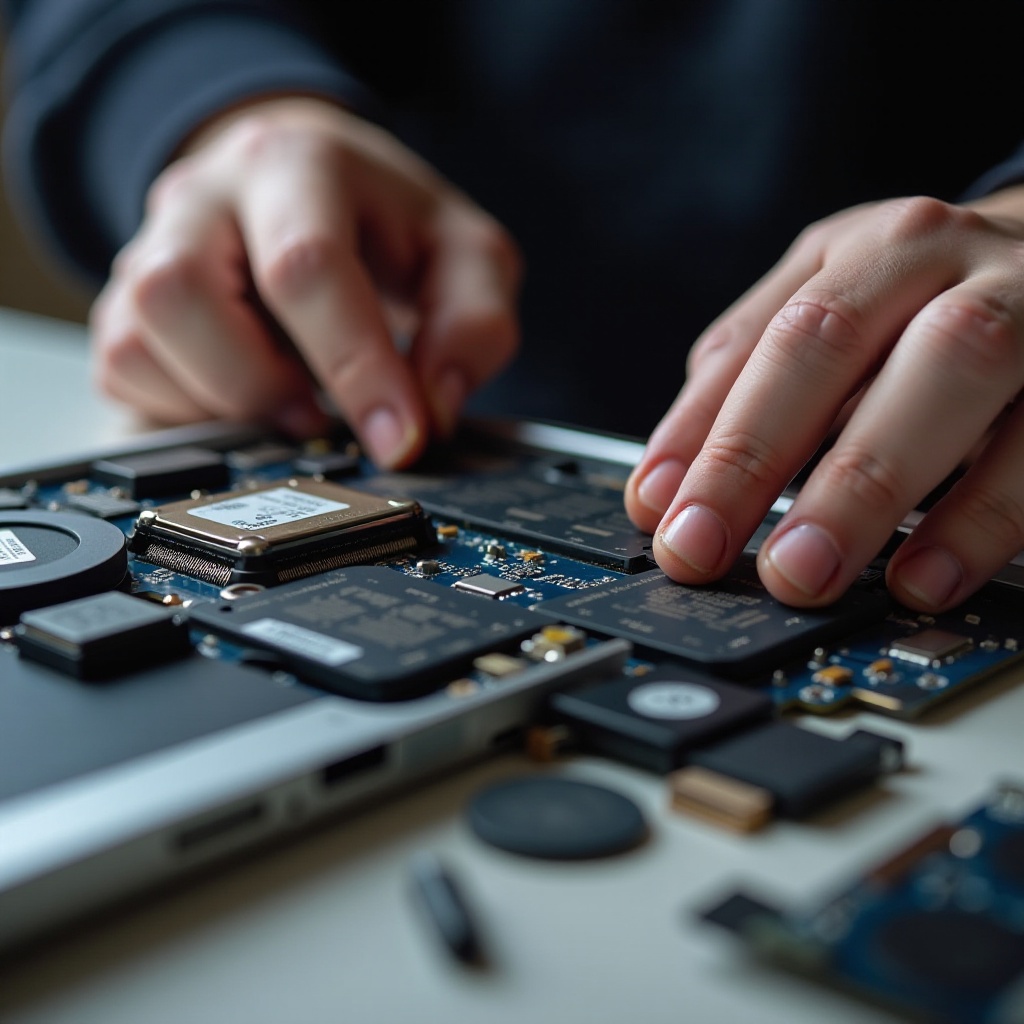
Locating and Removing the Old RAM
- Locate the RAM module on the logic board. It is typically near the center of the board.
- Push the clips on either side of the RAM module outward to release it.
- Once the RAM pops up at an angle, gently pull it out of the slot.
Installing the New RAM
- Align the notch on the new RAM module with the notch in the RAM slot.
- Insert the RAM module at an angle, then press it down until it snaps into place.
Reassembling Your MacBook
- Carefully replace the bottom case, making sure it is properly aligned.
- Reinsert the screws and tighten them with the Pentalobe screwdriver.
- Turn your MacBook Air back over and power it on.
Post-Replacement Setup and Testing
Once you have replaced the RAM, it’s essential to check that everything is working correctly. Power on your MacBook Air and go to the ‘About This Mac’ section under the Apple menu. Verify that the new RAM is recognized and shows the correct amount of memory. Run some applications and check for improved performance to ensure that the upgrade was successful.
Troubleshooting Common Issues
If your MacBook Air does not recognize the new RAM, try reseating the RAM module. Ensure that it is correctly aligned and fully inserted into the slot. If you still face issues, confirm that the RAM module is compatible with your MacBook Air A1495. Lastly, consult the user manual or seek professional assistance if the problem persists.
Maintenance Tips for Your MacBook Air A1495
To keep your MacBook Air running smoothly, follow these maintenance tips:
– Regularly clear out unnecessary files to free up space.
– Keep your software updated to ensure compatibility and security.
– Clean the external and internal components periodically to prevent dust buildup.
– Avoid exposing your MacBook Air to extreme temperatures.
By following these tips, you can ensure that your MacBook Air remains efficient and extends its lifespan.
Conclusion
Upgrading the RAM in your MacBook Air A1495 can greatly enhance its performance, allowing you to run more applications simultaneously and handle more demanding tasks. By following this comprehensive guide, you can perform the upgrade yourself, saving money and extending the life of your device. Remember to take your time, follow each step carefully, and enjoy the newfound speed and efficiency of your MacBook Air.
Frequently Asked Questions
Can I upgrade the RAM in MacBook Air A1495 by myself?
Yes, you can upgrade the RAM in your MacBook Air A1495 by yourself. Just follow the detailed, step-by-step guide provided in this article.
What type of RAM is compatible with MacBook Air A1495?
The MacBook Air A1495 uses LPDDR3 RAM. Ensure you purchase the correct type and size for compatibility.
How can I check if the new RAM is working properly?
After installing the new RAM, go to the ‘About This Mac’ section to verify if the memory is recognized. You can also run performance-intensive applications to test the upgrade.