Introduction
Accessing the clipboard is essential for efficient multitasking and data management on a Chromebook. Whether you are copying text, images, or links, knowing how to retrieve the information you’ve copied can save you time and enhance your productivity. This comprehensive guide will walk you through various methods to access and manage your clipboard on a Chromebook effectively. By the end, you’ll be adept at using keyboard shortcuts, the built-in clipboard manager, accessing clipboard history, and troubleshooting common issues.

Understanding the Chromebook Clipboard
The clipboard on a Chromebook functions as a temporary storage area for data you have copied or cut. This can include text, images, files, and other data types. The clipboard makes it possible to transfer information within documents or between different applications seamlessly.
When you press ‘Ctrl + C’ to copy or ‘Ctrl + X’ to cut, the copied or cut data is stored in the clipboard. When you subsequently press ‘Ctrl + V’ to paste, the clipboard inserts the data at the new location. Understanding these basic operations lays the foundation for mastering more advanced clipboard functionalities.
Accessing Clipboard through Keyboard Shortcuts
Keyboard shortcuts are a quick and efficient way to access your clipboard on a Chromebook. Knowing just a few essential key combinations can reduce your reliance on the mouse and speed up your workflow.
- Copy: Press ‘Ctrl + C’ to copy selected text or items to the clipboard.
- Cut: Use ‘Ctrl + X’ to cut and move selected text or items to the clipboard.
- Paste: Press ‘Ctrl + V’ to paste the clipboard contents to your desired location.
These shortcuts are fundamental, but there are additional keyboard shortcuts specifically for the clipboard manager on Chromebook:
- Clipboard Manager: Press ‘Search button (or Launcher button) + V’ to open the clipboard history.
- Cycle Through Clipboard History: Use the arrow keys to cycle through the history and select the item you wish to paste.
Using the Built-In Clipboard Manager
Chromebooks come with a built-in clipboard manager called ‘Clipboard History,’ which can store up to five copied items. With this feature, you can go beyond the last copied item and access a small history of your copied content.
How to Enable Clipboard History
To use the clipboard manager, ensure your Chromebook’s clipboard history feature is enabled. Follow these steps:
- Open Chrome and type
chrome://flagsin the address bar. - In the search bar, type ‘Clipboard.
- Enable the flag for ‘Enable Multi-Paste Clipboard.’
- Restart your Chromebook.
Accessing the Clipboard Manager
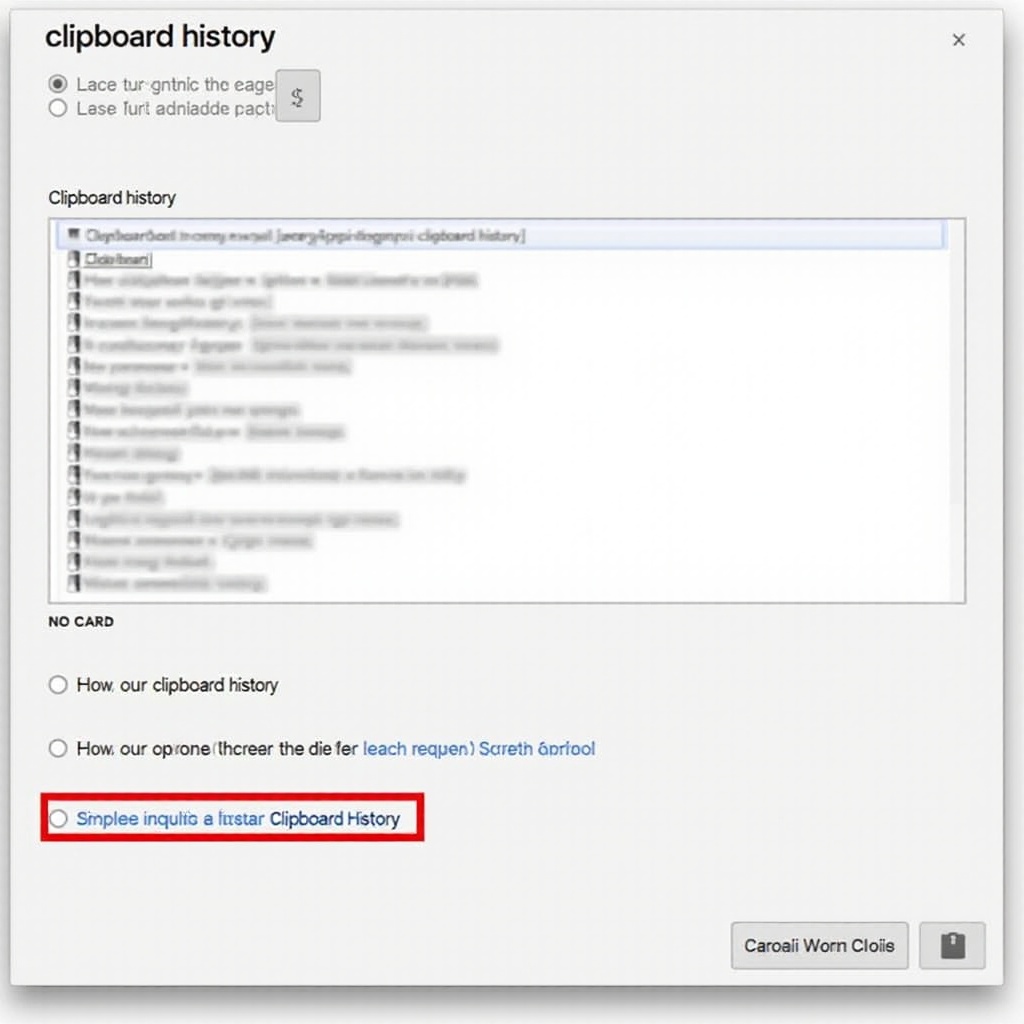
Once enabled, you can access the clipboard manager by pressing ‘Search (Launcher) + V.’ This will display a list of recently copied items, from which you can click to paste any item.
The clipboard manager is especially useful for tasks that require switching between multiple items, making it an excellent tool for students, professionals, and casual users alike.

Accessing Clipboard History
The clipboard history on a Chromebook allows you to view and reuse previously copied items, enhancing your copying and pasting capabilities. Here’s a step-by-step guide to accessing your clipboard history:
- Open Clipboard History: Press ‘Search (Launcher) + V.’ This will bring up a list of your last five copied items.
- Navigate and Select: Use the arrow keys to navigate through the list. Alternatively, use your mouse to click on the item you want to paste.
- Paste an Item: Once selected, either click on the item or press ‘Enter’ to paste it into your current document or field.
This robust feature reduces the need to copy the same item multiple times and allows you to revisit recent copied content conveniently.

Troubleshooting Common Clipboard Issues
Clipboard issues can sometimes hinder productivity on a Chromebook. Here are common problems and solutions:
- Clipboard Not Working:
-
Solution: Restart your Chromebook. This can resolve many minor software issues. If the problem persists, check for Chrome OS updates and install them.
-
Clipboard History Not Showing:
-
Solution: Ensure that the clipboard history feature is enabled in
chrome://flags.If the feature is enabled and still not working, try disabling and re-enabling it, then restart your device. -
Inconsistent Clipboard Performance:
-
Solution: Disable any extensions that might be interfering with clipboard operations. Some extensions can conflict with clipboard functionalities.
-
Unable to Access Clipboard Manager:
- Solution: Verify that you are pressing the correct shortcut keys ‘Search (Launcher) + V.’ If it still doesn’t work, check for conflicting app shortcuts that might override this command.
Conclusion
Accessing and managing your clipboard on a Chromebook is straightforward once you grasp the essential techniques and tools available. Keyboard shortcuts provide quick access to copy, cut, and paste functions, while the built-in clipboard manager and history features offer additional layers of convenience for handling multiple items. Armed with this knowledge, you are well-equipped to enhance your efficiency and productivity on a Chromebook.
Frequently Asked Questions
How can I clear my Clipboard history on Chromebook?
To clear your clipboard history, press ‘Search (Launcher) + V’ to open the clipboard manager. From there, click on the ‘Clear All’ option to remove all items from your clipboard history.
Can I access my Clipboard history without enabling the Clipboard manager?
No, accessing clipboard history requires enabling the Clipboard manager via `chrome://flags.` Without enabling this feature, you can only access the most recently copied item.
What should I do if my Clipboard stops working?
If your clipboard stops working, restart your Chromebook and check for system updates. If the problem persists, disable any interfering extensions and remember to enable the clipboard history feature in `chrome://flags` if it’s turned off.