Mapping network drives in Windows 11 boosts your workflow by allowing easy access to shared resources. A network drive acts like a local drive on your computer, enabling seamless file sharing across a network. Whether you’re in an office or setting up a home network, understanding network drives enhances productivity and file management.
Introduction
Mapping a network drive in Windows 11 makes accessing files on another device within your network simple. This feature is essential for collaborating professionally, sharing family photos at home, or expanding your storage space. In this guide, we’ll explore the steps and best practices for mapping network drives, helping you utilize this feature effectively.

Understanding Network Drives in Windows 11
What Are Network Drives?
Network drives function as a shared location in your digital workspace, resembling a local drive on your computer. They provide centralized storage accessible by multiple users, essential for collaborative projects and efficient data management.
Benefits of Mapping Network Drives
Mapping network drives offers several advantages:
– Centralized Access: Consolidate files in one place for easy access by multiple users.
– Security: Control access to sensitive data through user permissions.
– Convenience: Access files remotely without physical storage media.
Linking network drives in Windows 11 enhances both professional and personal environments, ensuring access to essential files is always available.
Preparing Your System for Network Drive Mapping
Before you begin mapping, ensure your system is ready to connect.
Ensuring Network Connectivity
- Check Network Connection: Confirm your computer is connected to the network (wired or wireless).
- Test Network Access: Verify you can reach other devices by pinging them or using a network discovery tool.
Identifying the Correct Network Path
- Locate the Shared Resource: Identify the network path to the shared folder or drive (e.g., \ServerName\SharedFolder).
- Gather Network Credentials: Ensure you have login information necessary for accessing the network resource.
With your system prepared, you’re ready to map the drive effortlessly.
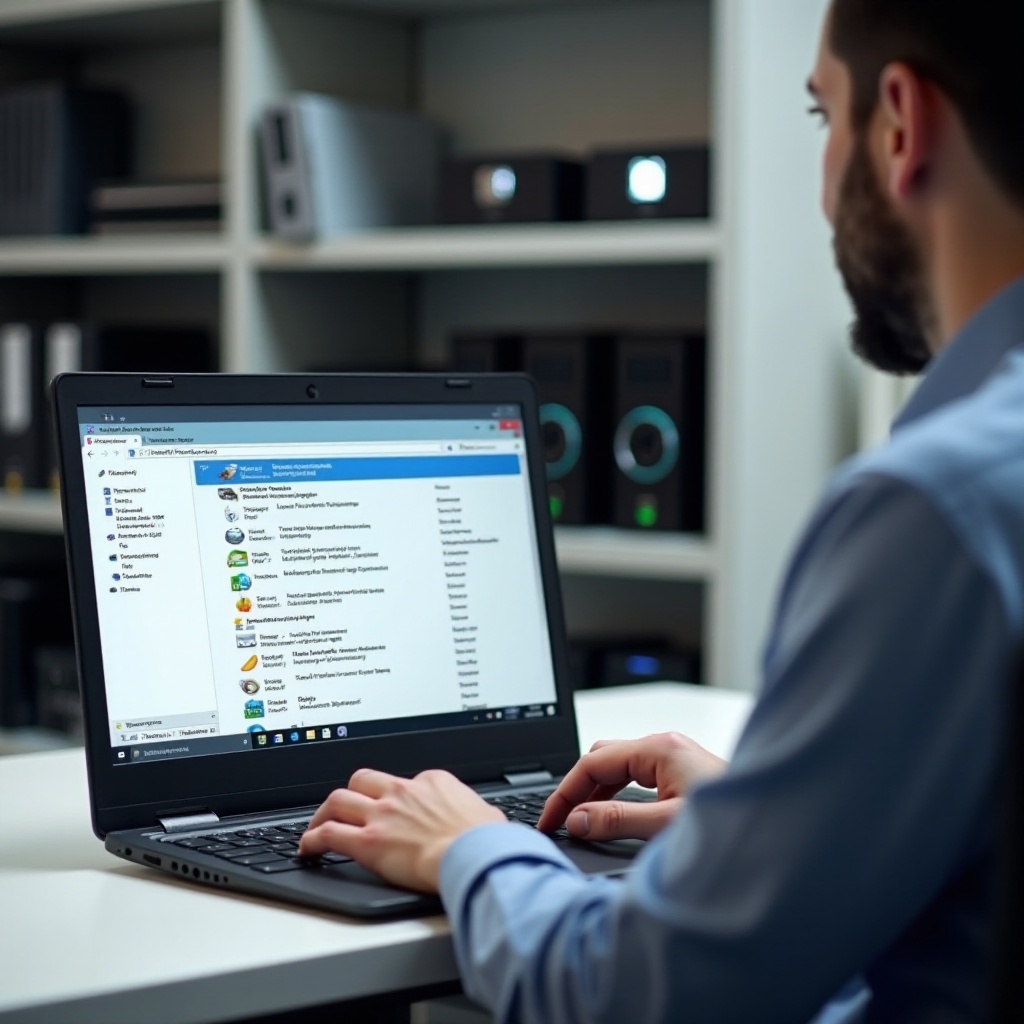
Mapping a Network Drive Using File Explorer
Windows 11 provides a user-friendly way to map drives via File Explorer.
Step-by-Step Instructions with Screenshots
- Open File Explorer: Click the File Explorer icon in the taskbar.
- Select ‘This PC’: Navigate to ‘This PC’ in the sidebar.
- Click ‘Map network drive’: Found in the toolbar at the top.
- Choose a Drive Letter: Select an available letter for the drive.
- Enter the Folder Path: Input the network path (e.g., \ServerName\SharedFolder).
- Check ‘Reconnect at Sign-in’: Ensure this option is selected for automatic reconnection.
- Provide Network Credentials: Enter the username and password if prompted.
Setting Up Automatic Reconnection
Selecting ‘Reconnect at Sign-in’ ensures the network drive reconnects each time you log in, maintaining continuous access.
Mapping a drive using File Explorer is straightforward, but the command prompt offers more control for advanced users.
Alternative Method: Mapping Network Drives with Command Prompt
The Command Prompt provides added flexibility and precision.
Command Line Steps
- Open Command Prompt: Search ‘cmd’ in the Start menu and run as administrator.
- Enter the Mapping Command: Type
net use Z: \\ServerName\SharedFolder /persistent:yes, replacing ‘Z:’ with your chosen drive letter. - Provide Credentials: Enter your network login details if prompted.
Advantages of Using Command Prompt
- Scripting: Automate the mapping process with scripts.
- Precision: Offers precise control and batch processing for multiple mappings.
Mapping through the Command Prompt empowers advanced users with the flexibility they need.

Troubleshooting Common Issues
Even with guidance, challenges may arise. Here’s how to resolve common problems:
Fixing Connection Errors
- Verify Network Path: Ensure the network path is correct.
- Restart Devices: Restart your computer and network device to reset connections.
Resolving Permission Problems
- Check Permissions: Contact the network administrator for access confirmation.
- Adjust Settings: Modify security settings if needed.
Being proactive with solutions minimizes disruptions, maximizing productivity.
Best Practices for Using Network Drives
Effective network drive use extends beyond setup.
Organizing Network Folders
- Categorize Files: Structure folders logically (e.g., by project or department).
- Regularly Archive: Move older files to an archive to maintain speed.
Securing Your Network Data
- Regular Updates: Keep systems updated to protect against vulnerabilities.
- User Access Control: Restrict sensitive data access to authorized users.
Implementing these practices enhances your network drive’s performance and security.
Real-Life Applications of Network Drives
Network drives are versatile tools with wide applications.
Network Drives in Business Environments
Businesses benefit from centralized data access, enabling teams to collaborate seamlessly and reduce redundancy.
Enhancing Productivity at Home
Families and remote workers leverage network drives for sharing media, resources, and backups efficiently.
These real-life applications highlight the adaptability and utility of network drives across various settings.
Conclusion
Mapping network drives in Windows 11 offers significant benefits by enhancing file access, productivity, and streamlining storage solutions. With the step-by-step methods and best practices outlined, you can confidently manage network drives, ensuring seamless file access.
Frequently Asked Questions
How do I disconnect a network drive in Windows 11?
Navigate to ‘This PC’ in File Explorer, right-click the network drive, and select ‘Disconnect’.
Can I map a network drive on multiple computers?
Yes, you can repeat the process on each device using the same network path and credentials.
Why do my mapped network drives disappear after rebooting?
Ensure ‘Reconnect at Sign-in’ is checked during setup; otherwise, drives may not reconnect automatically.